Adding vmdk VMs to Our Proxmox Cyber Range
This how-to is specific to my Proxmox environment. My previous write up, based on 0xBEN’s excellent guide, downloaded VMs directly from Vulnhub to the Proxmox server. This is a very efficient process if the file is hosted online.
I have archived a number of vmdk files on a local server, and would like to be able to quickly transfer the file to Proxmox over my local network.
General Steps
- Create a VM
- Delete the Hard Disk(s)
- Transfer vmdk to Proxmox
- Attach imported vmdk to VM
- Finalize the Disk: SATA, Change boot order
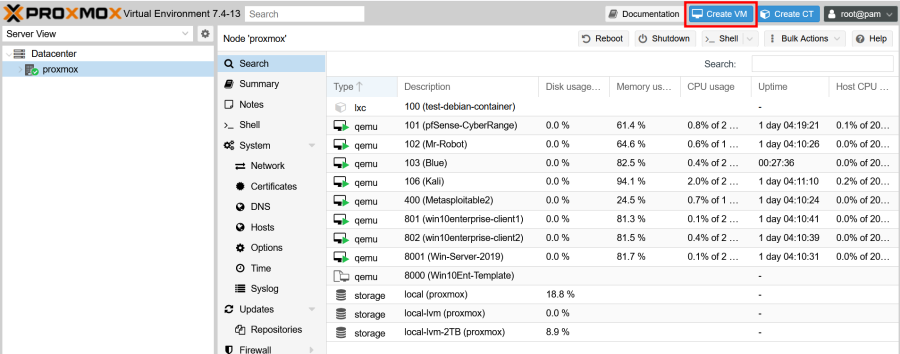
1. Create a VM
In this case, I will be uploading two vmdk’s, Blue and DamnVulnWindows.
These are the default credentials for Blue, just in case you are looking for them:
user - Password123! administrator - Password456!
We will begin with these default resources. The can always be increased if necessary:
RAM: 4 GB Processors: 2 HD: 20 GB
Create a VM.
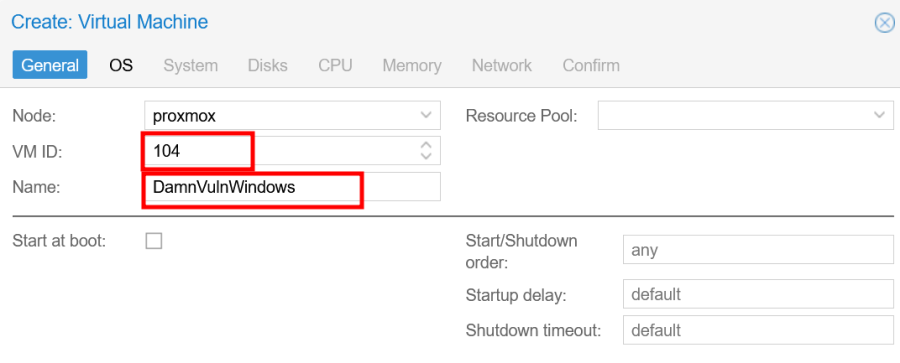
- Give it a name.
- Note the VM ID; you will need this later while attaching the vmdk to the VM.
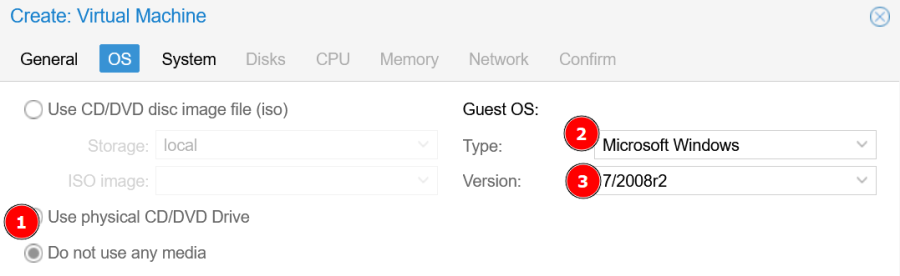
- Do not use any media - we will be uploading then attaching the vmdk file directly to the VM.
- We will not be using an ISO
- Configure the appropriate operating system fields.
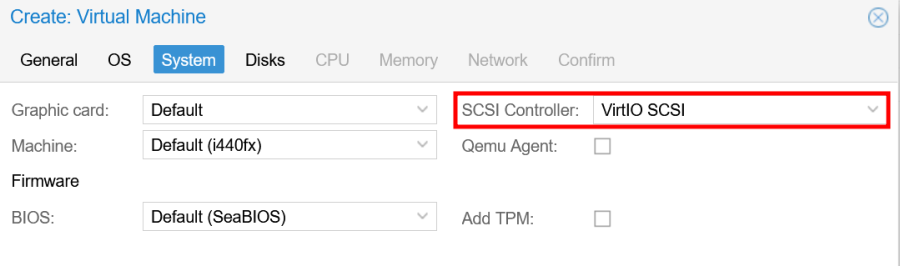
- SCSI Controller: VirtIO SCSI

- Choose SCSI again
- Storage: choose the 2TB storage
- Customize Disk size (although we will be deleting this disk and attaching the vmdk)

- 2 cores for these Windows boxes
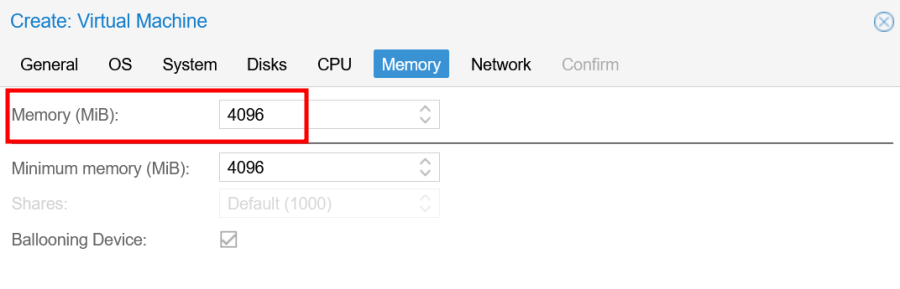
- Customize your RAM
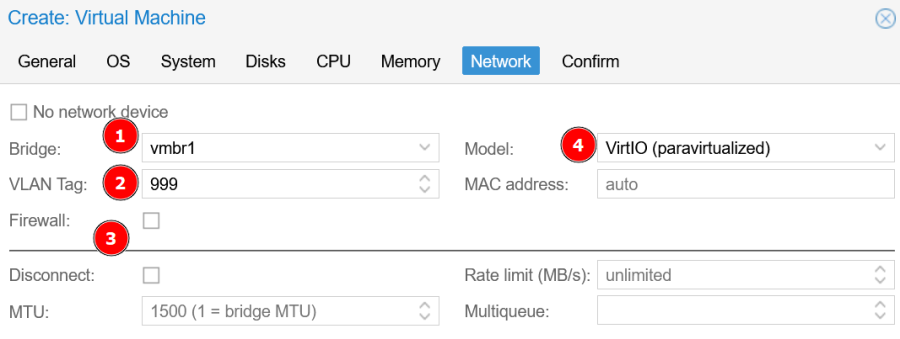
- select the pfSense switch (vmbr1)
- VLAN Tag = 999 = ISOLATED VLAN
- deselect firewall
- Model: VirtIO
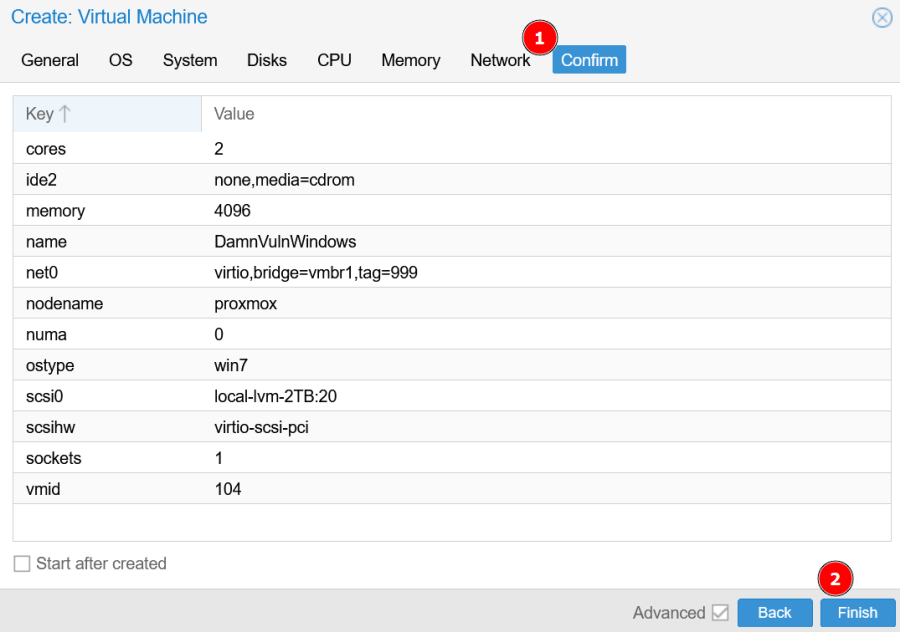
- Confirm
- Finish
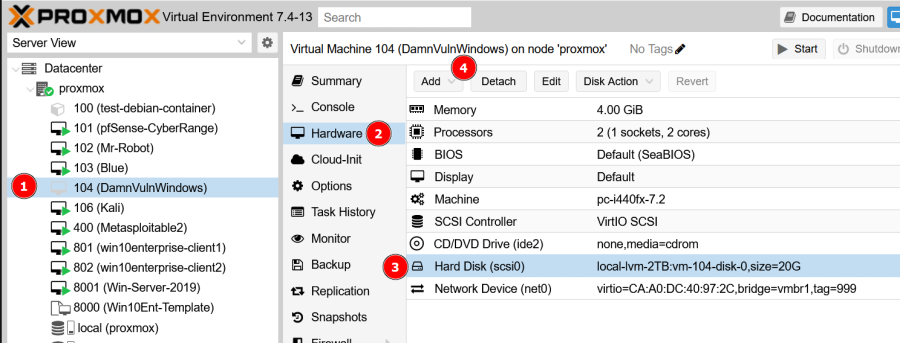
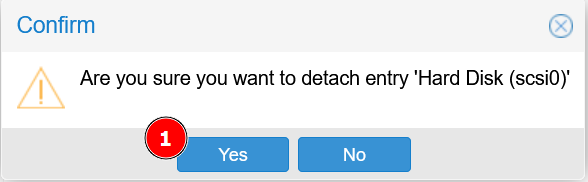
2. Delete the Hard Disk(s)
We will want to delete two Hard Disks
- Hard Disk (scsi0)
- Unused Disk 0
Go to VM | Hardware | Select Hard Disk | Detach | Remove | Yes
Remove Unused Disk O
3. Transfer vmdk to Proxmox
We will be doing this in a few easy steps:
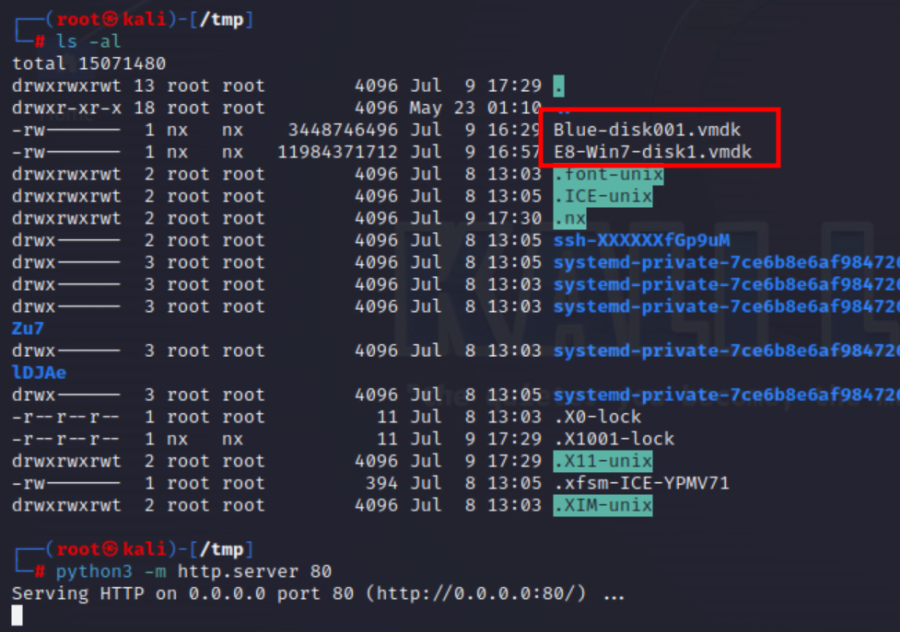
Drag and drop vmdk to Kali box
The file can be found here: /var/NX/nx Move it to the Kali /tmp folder
** Spin up a temporary webserver on Kali box**
python3 -m http.server 80
** Download to Proxmox /tmp folder **
Go to Proxmox shell:
cd /tmp
wget http://10.0.0.10/Blue-disk001.vmdk
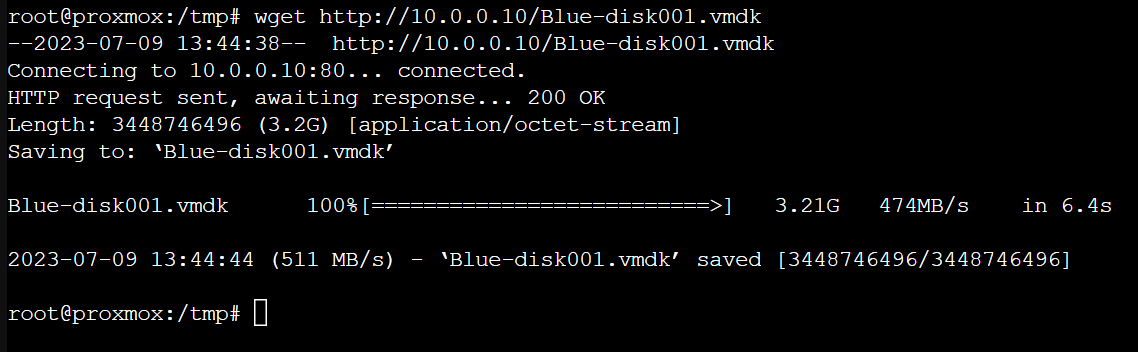
- download (wget) file to Proxmox /tmp folder
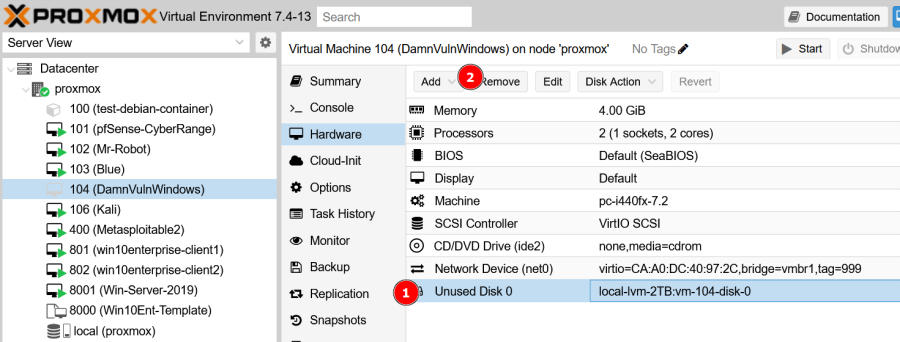
4. Attach imported vmdk to VM
Now that the vmdk file has been uploaded to the Proxmox /tmp folder, we can attach it to the VM:
qm importdisk 103 Blue-disk001.vmdk local-lvm-2TB --format vmdk
Note where you are importing it to ie. the 2TB LVM, and the associated VM ID seen previously.


5. Finalize the Disk: SATA, Change boot order
You should now see an Unused Disk 0 that we just imported and attached to the VM. We need to change the Bus/Device to SATA.

Double click the disk:
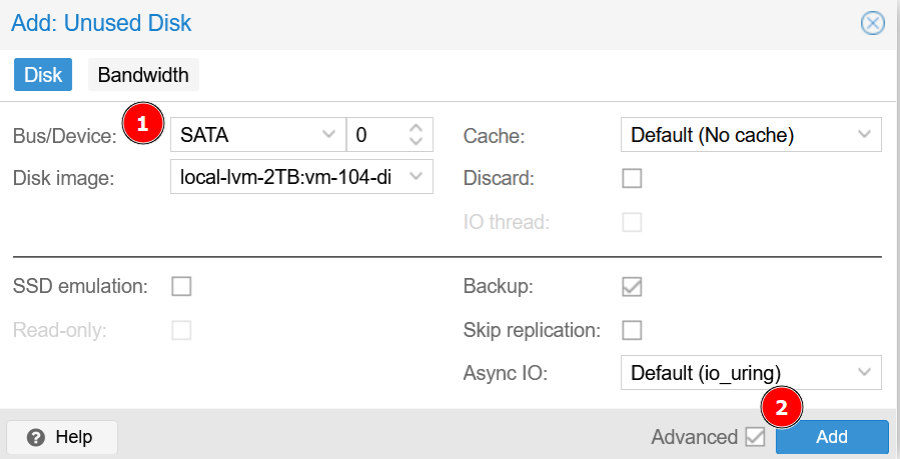
- Change Bus/Device to SATA
- Add
Change the boot order:
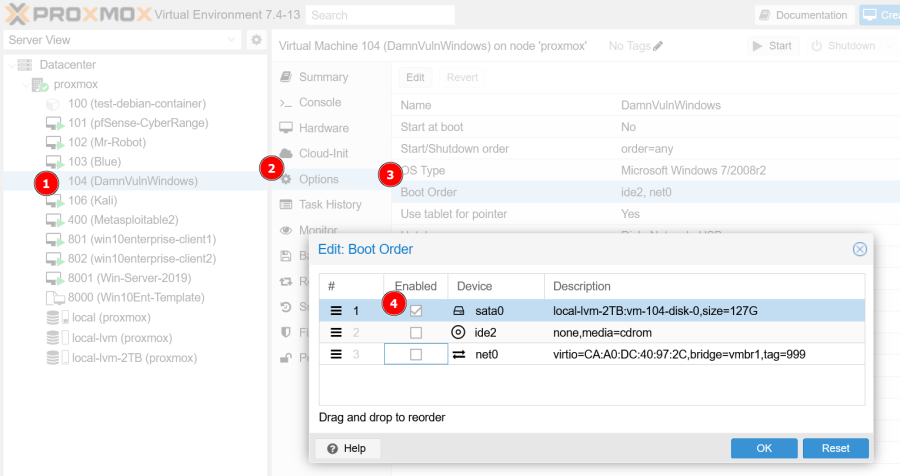
- Make sure SATA is the first, and only enabled boot disk.
And that’s it! Happy Hacking!
Previous Section - Tweak Our Setup: 2nd SSD, Static Routing, Remote Access