Introduction
September 13, 2025
If have not heard of pi-hole, head over to their website to get the full details. In summary it is a DNS level ad blocker. A “black hole” for ads, hosted on a Raspberry Pi.
The typical ad blocker comes in the form of a browser extension. A request from your browser will go the desired website, and download all the content from that site, including ads. You might be surprised how much additional content ie. ads, are embedded in a seemingly innocuous website. The browser plug-in will then prevent ads from being displayed in your browser. The problem is, the ads have already been downloaded, which wastes bandwidth and CPU cycles. The browser plug-in then spends additional CPU cycles determining if downloaded content should be displayed or not.
The advantage of pi-hole is, requests are blocked at the DNS level ie. IP addresses associated with ads, BEFORE they are downloaded from the internet. This saves bandwidth so your web requests are loaded faster, saves bandwidth for other users or applications in your network, and does not require additional CPU cycles on the computer the browser is running on. It is estimated that pi-hole will save 10% of your bandwidth and there should be a noticeable improvement in download speeds.
I had been running pi-hole on a dedicated Raspberry Pi for over 6 years - I don’t remember the date, I should try and find out somehow, but it was before COVID. I know this, because it would drive my wife crazy when I would ask dinner guests if they would like to look at my “pi-hole” - and this definitely predated January 2020. Since then, I have fallen in love with Proxmox and in addition to “Hack the Planet”, I started to “Virtualize the Planet”, at least the stuff I was self-hosting at home. I have been running pi-hole on Proxmox for over a year now without incident and I highly recommend it since Proxmox provides additional system customization and backup solutions.
This installation will be based on a Docker image. The overall steps include:
Create a Linux Container (LXC) Update, Upgrade Debian 11, Install Curl Install pi-hole Create a snapshot Set static IP or map to MAC address Enable “Start at boot”
References and Shout-Outs
If you want to read more about the pi-hole project, check out their website. I also used this website for a starting point.
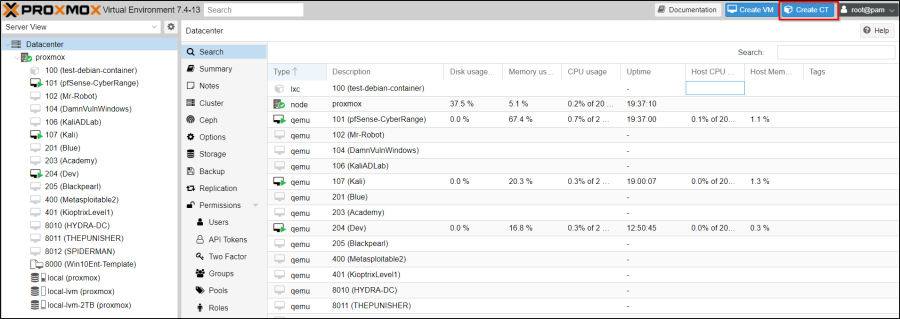
Create a Linux Container (LXC)
The first step is to create a new LXC.
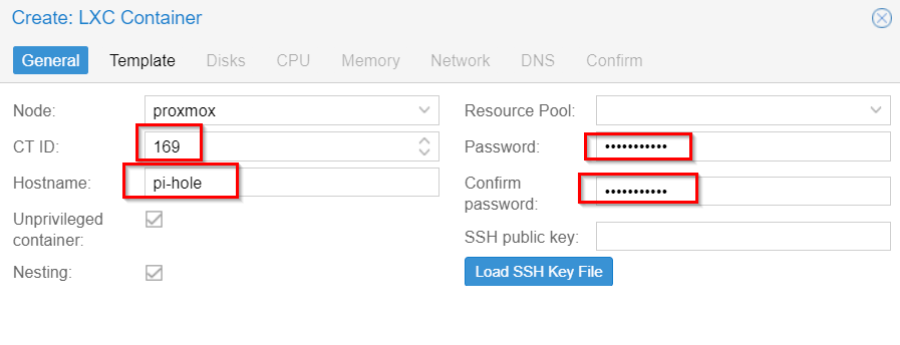
- Ensure the container is unprivileged and nesting is enabled
- Enter a Hostname
- Enter the Password you’d like to use. This password will be used to log in to the root user account
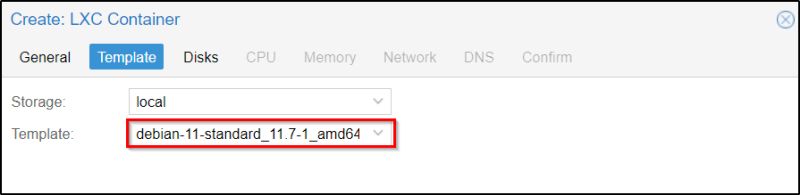
- For pi-hole I will use Debian 11
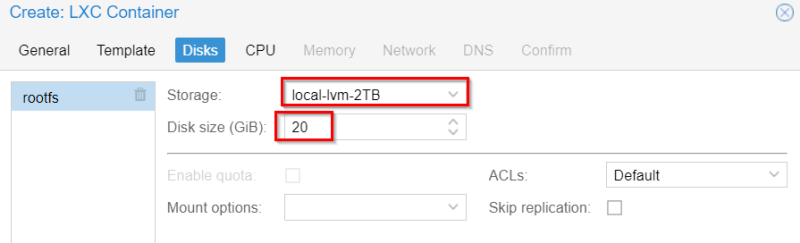
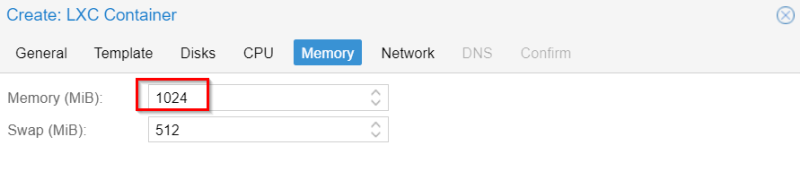
- I will try 20 gigs for this pi-hole installation. My first installation on a pi-hole used a small 8 gig microSD card, which eventually ran out of space because all the logs.
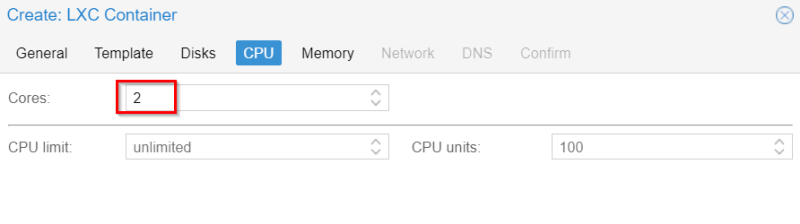
- pi-hole is very memory efficient, especially with each subsequent release
- I will try 1024 MB and see how it goes
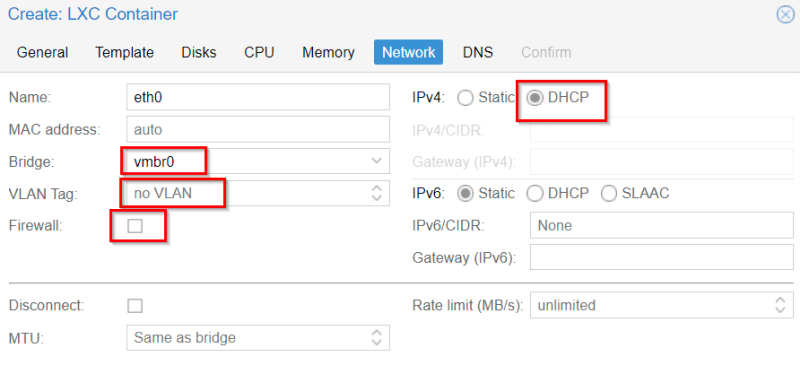
- vrmb0 - this will sit on the production side of proxmox, not behind the pfSense firewall where the cyber-range subnets live
- this machine should live on the 10.68.69.0/24 private network CIDR and visible to the router
- We will find the IP address later, and assign a static IP based on its MAC address in the router software
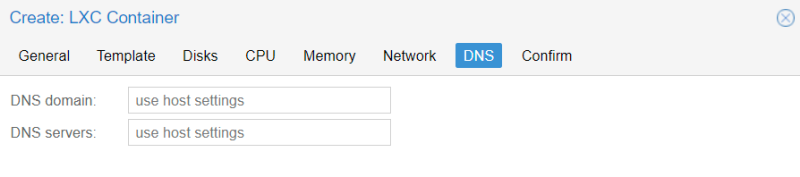
- I kept the default “use host settings”
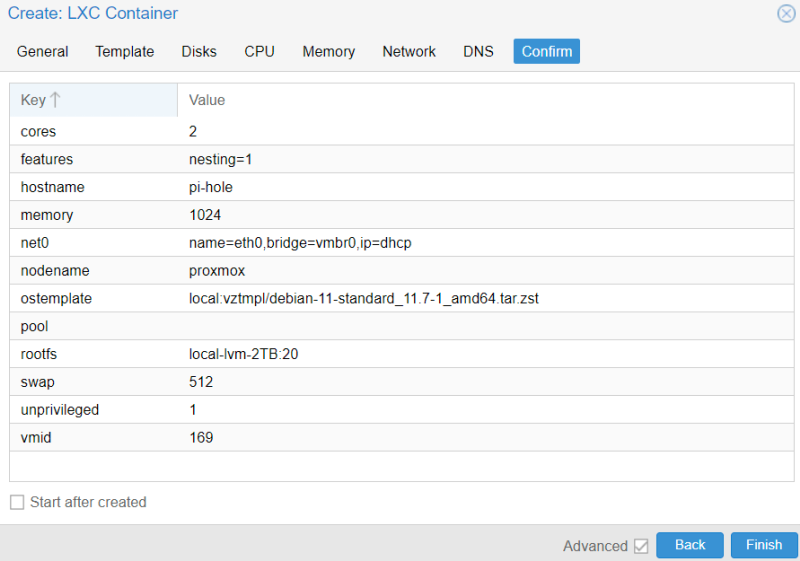
- Uncheck “Start after created”, do not start the container
- Click Finish
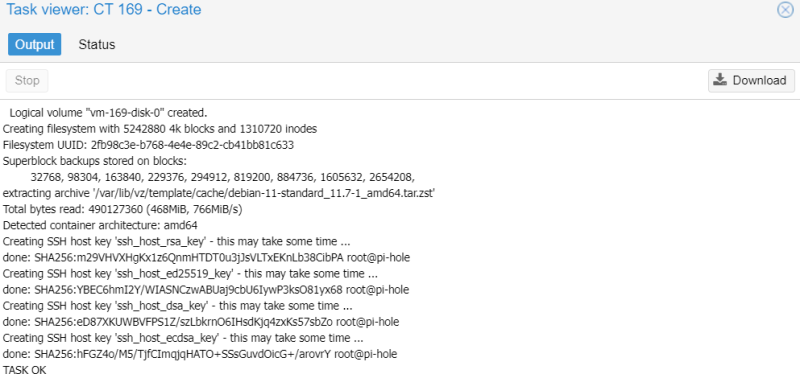
- Success!
Additional Container Options If Using ZFS
- NOTE: I am using LVM
- If you using ZFS
- need to enable FUSE
- Install and Configure FUSE OverlayFS on the Linux Container
Update, Upgrade Debian 11, Install Curl
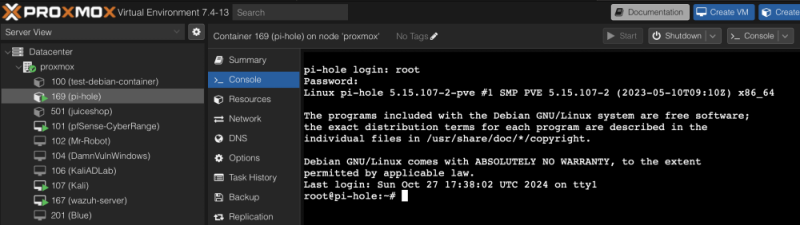
- start the machine
- access the console
- login with user root and password
apt update && apt upgrade -y
apt install curl -y
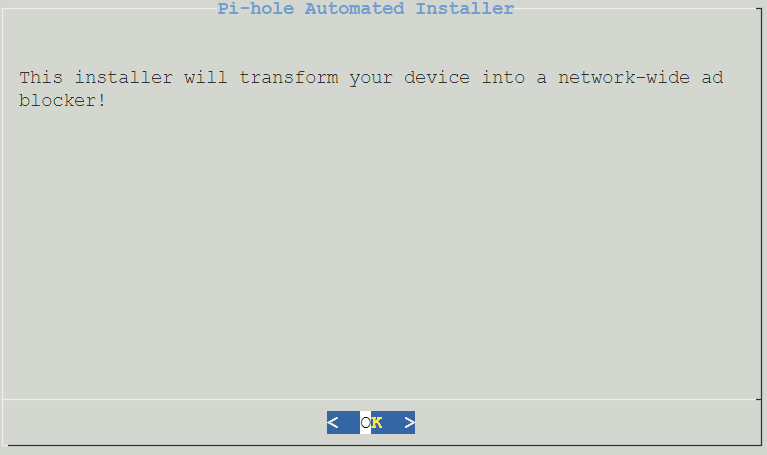
Install pi-hole
Those who want to get started quickly and conveniently may install Pi-hole using the following command:
curl -sSL https://install.pi-hole.net | bash
Piping to bash is controversial, as it prevents you from reading code that is about to run on your system. Therefore, we provide these alternative installation methods which allow code review before installation:
git clone --depth 1 https://github.com/pi-hole/pi-hole.git Pi-hole
cd "Pi-hole/automated install/"
sudo bash basic-install.sh

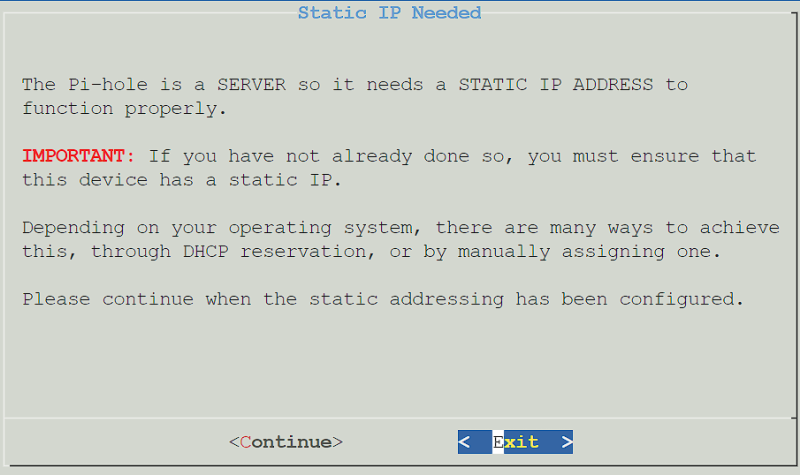
- Press Enter until you get to the Static IP address setup. It is extremely important for Pi-hole to have a static IP address. It’s recommended to set up a static IP on your router, but you can do it inside of the Debian operating system as well if necessary.
- Make sure that you set (or plan to set) a Static IP before proceeding.
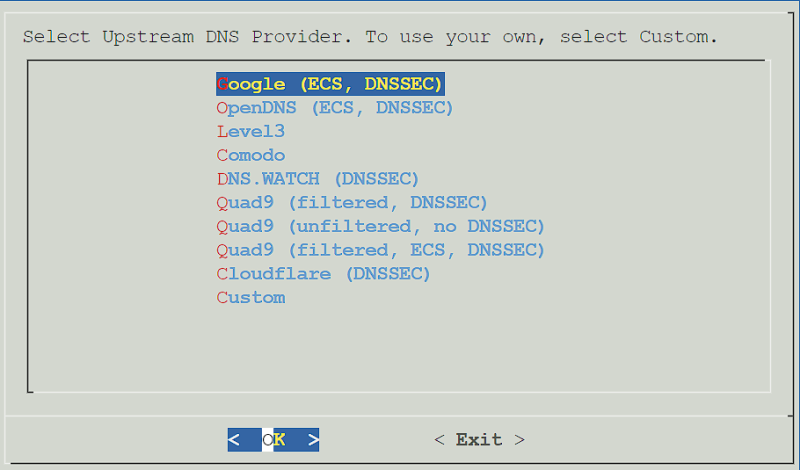 -Select an Upstream DNS Provider. The Upstream DNS Provider is where DNS requests (which are not found locally) will be forwarded. Your PiHole doesn’t by default know much about DNS. All it really does is this:
- Systems on your network ask it about a domain.
- It checks the block list, and of it finds the domain there, blocks the request.
- If the domain isn’t on the block list, it goes to your upstream provider and asks them, and passes the response along to your machine.
- Google generally provides a fast DNS service that’s reasonably good and relabile and crucially accessible to everyone. Most of the included DNS services are like this.
- It is possible that any upstream provider you choose could track you, or issue you bad responses for their own gain. For what it’s worth none of the default providers are known for doing this and I’d choose based on speed.
- A different solution is to use unbound. This is a service that you run alongside pihole that will go directly to the authoritative name server for the domain you request, removing Google and cloudflare and the like from the loop. It’s not a setup I’m using so I can’t comment on how difficult it is to set up, or what the performance is like.
- Cloudflare’s 1.1.1.1 is fastest dns server and you can use it- this is what I have been using for my Pi-Hole(s).
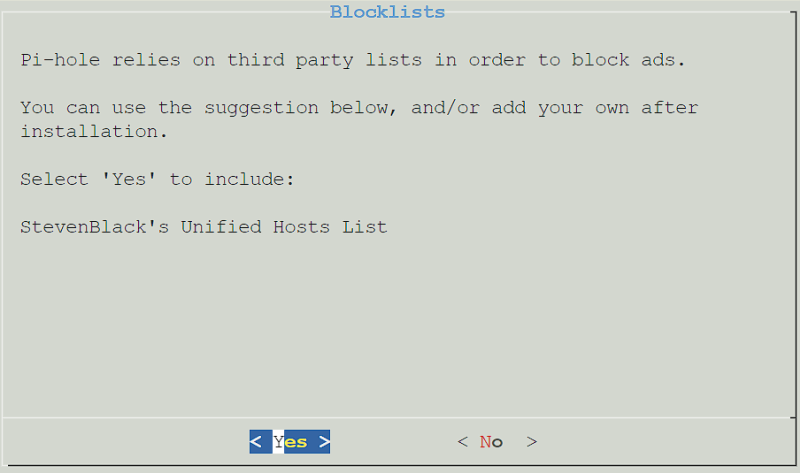
- Select Yes to use the default block list. Please keep in mind that this can be configured later, and you do not have to use this list if you don’t want to.
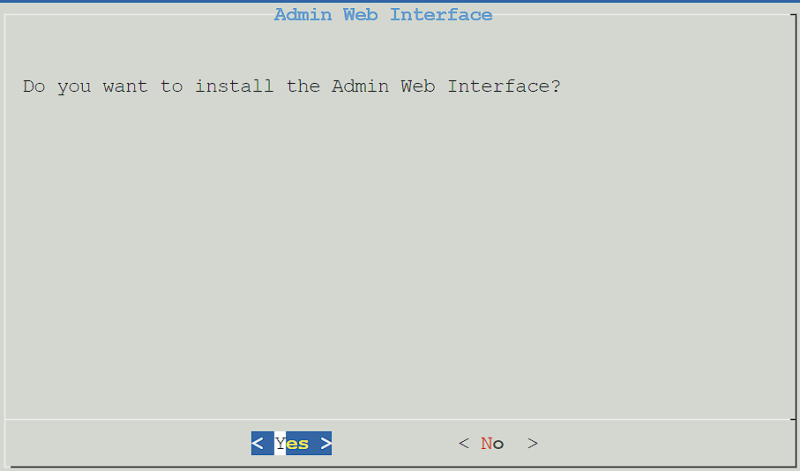
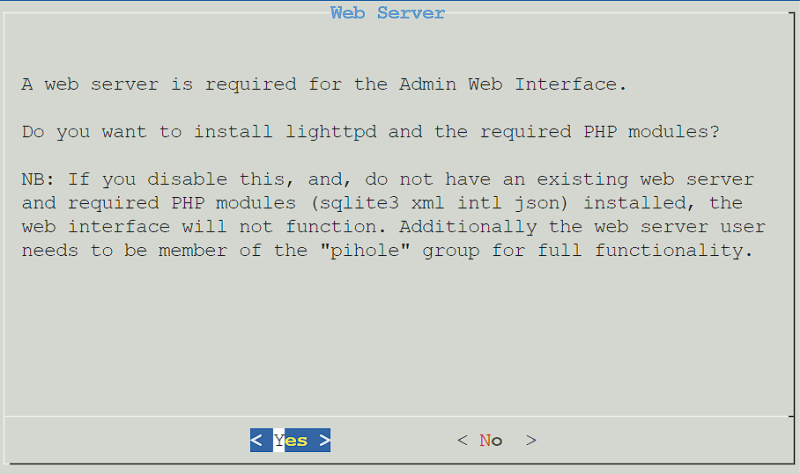
- Select Yes to install the admin interface. This is how you’ll manage Pi-hole.
- Select Yes to install the Admin Web Interface.
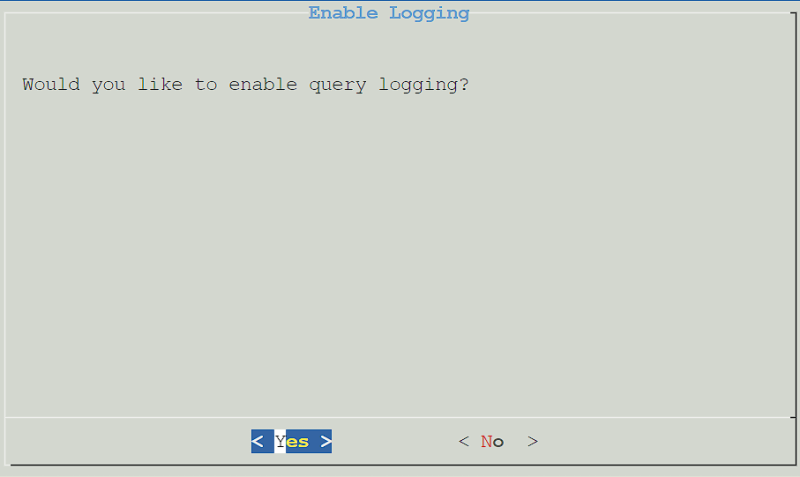
- Query logging is a personal preference (this is what will determine if DNS requests are logged), so select Yes or No based on your preference. This is why I chose a larger virtual drive for this installation. I had run out of space using smaller microSD cards on previous installations on my Raspberry Pi’s.
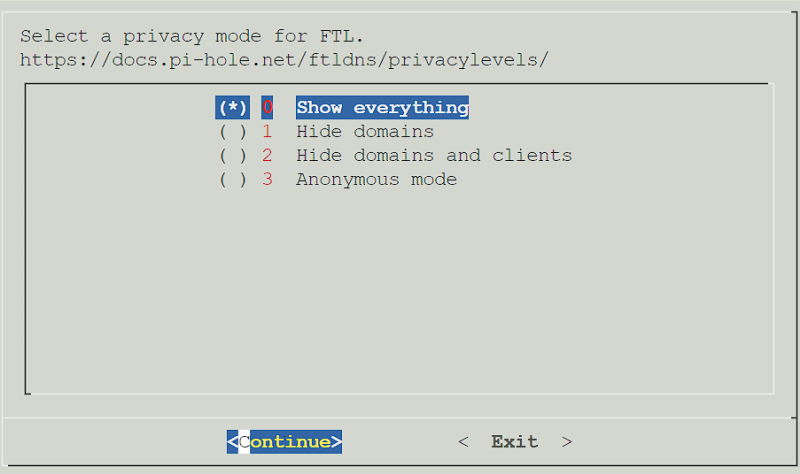
- If you selected yes above, you’ll be asked to determine the privacy of DNS requests. Select the option you’d like, then press Continue.
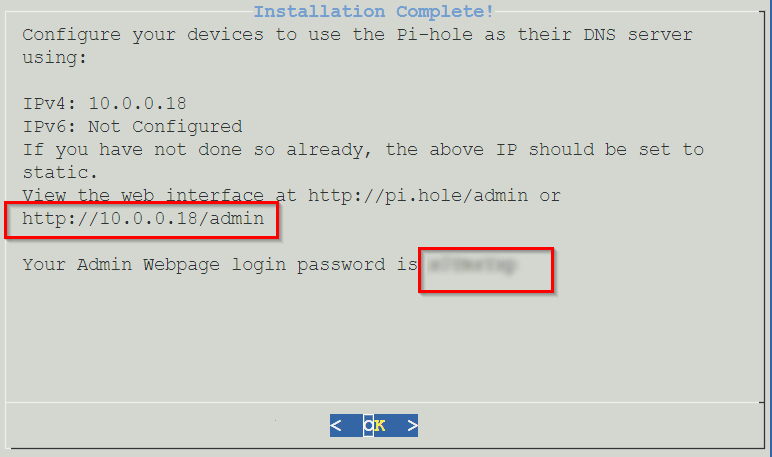
- Pi-hole will now install! Give it a few minutes to ensure that it’s fully configured. When it’s complete, you’ll receive a confirmation page where you can select OK to proceed. Please note the password given so that you can log in to the web interface!
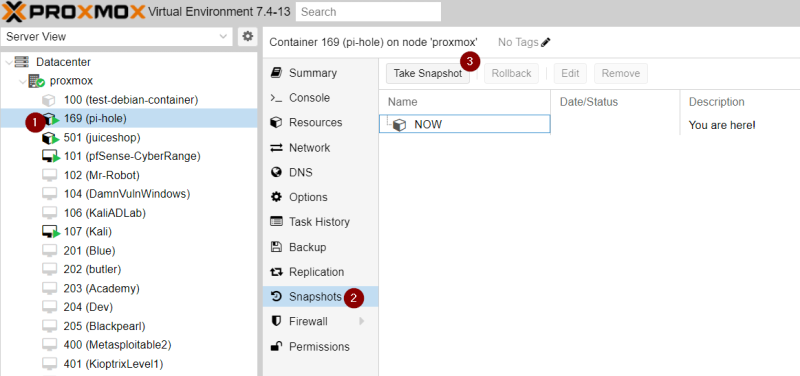
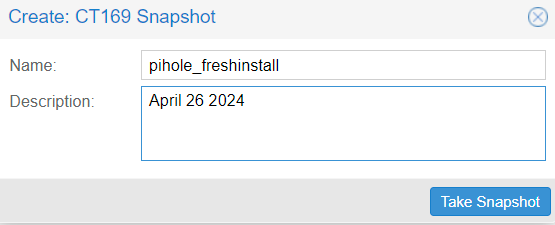
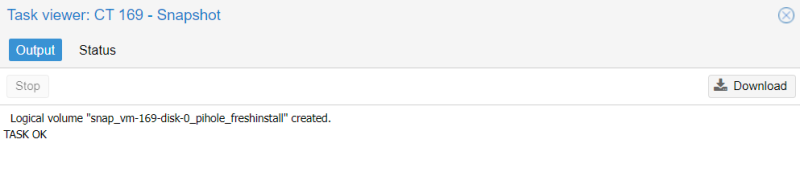
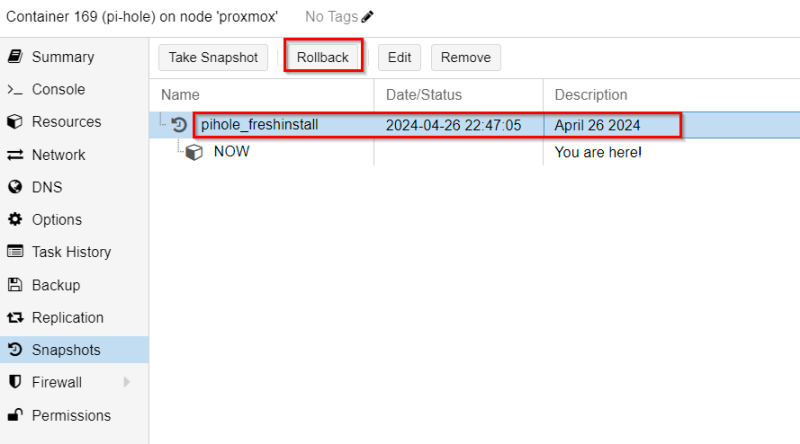
Create a snapshot
Set static IP or map to MAC address
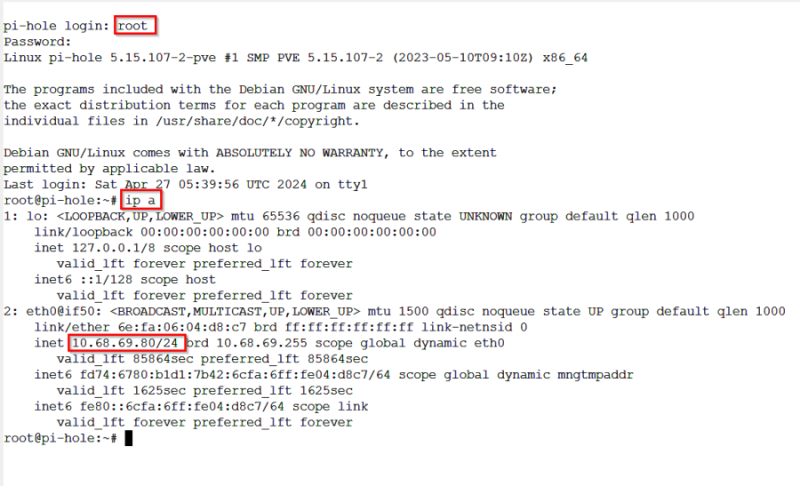
- Let’s find out pi-hole’s IP address
ip a
ifconfig

- On my particular router, you can set a static IP based on MAC address by going to LAN | DHCP Server. You can manually enter the MAC address (seen above with the ip a or ifconfig command) or find the hostname via the drop down menu
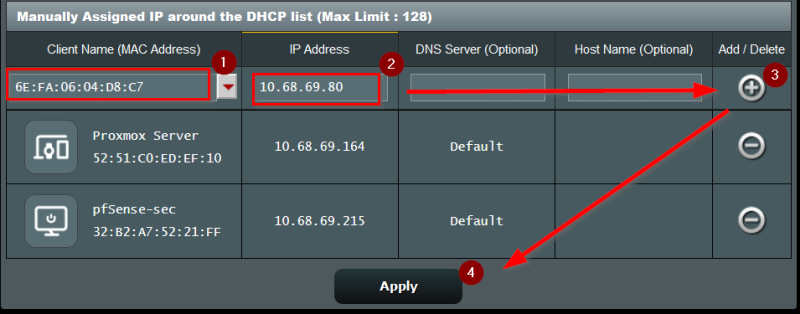
- Add and Apply the new MAC/IP address combination
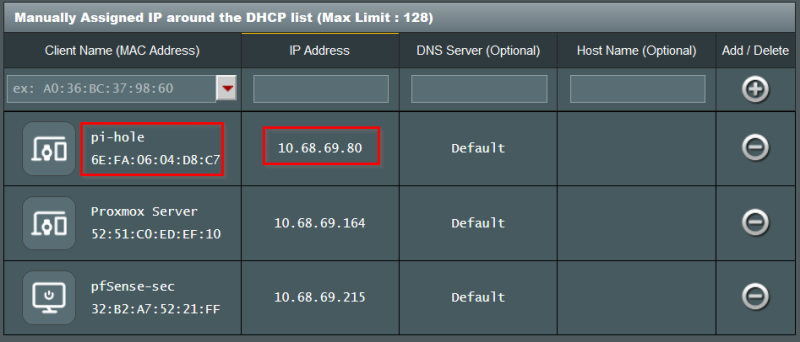
- Congratulations! And now you have your pi-hole on a static IP, as long as the MAC address doesn’t change. Enjoy your ad-free browsing experience, while saving 10% in bandwidth and possibly noticeable faster rendering speeds.
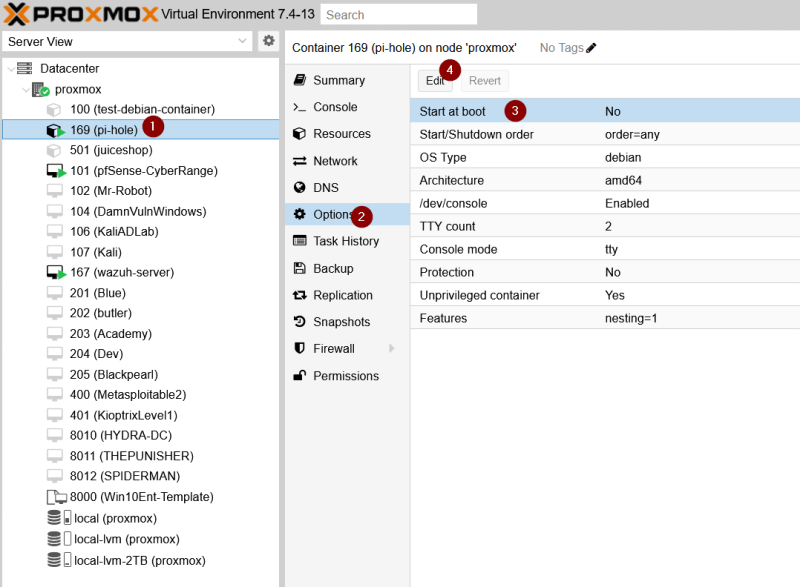
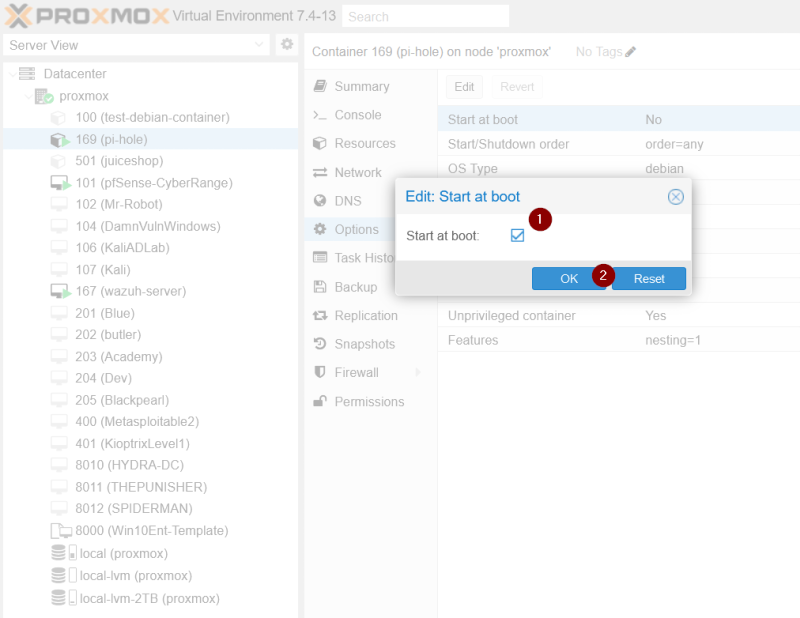
Enable “Start at boot”
Miscellaneous Commands
Note: I have not authorized root ssh login, so to update, use the proxmox console to login as root
To Update
pihole -up

To Change Password
pihole -a -p
To Access Admin Panel
10.68.69.80/admin