0xBEN’s pfSense Installation Guide
This section is based on 0xBEN’s pfSense Installation Guide.
I have added additional notes which might be relevant for VMware, as well as repeated some things for my own reference.
Download pfSense
Download the zip file from here:
https://www.pfsense.org/download/
Choose the zip/iso with these specifications:
- Architecuture: AMD64 (64 bit)
- Installer: DVD Image (ISO) Installer
- Mirror: choose your closest location

Unzip the file.
Create a new VM with VMware
Choose “New Virtual Machine” with these options:
- Typical (Recommended)
- Select “Installer disc image file (iso)”
- Browse to the location where you unzipped the ISO file
- Enter a meaningful name
- Use default location
Hardware Specifications
- Disk Capacity
- 20 gigs
- Split virtual disk into multiple files
- CPU: 2
- RAM: 2048 MB
- Ready to Create Virtual Machine
- Deselect Power ON after creation
- Select Customize Hardware
Add 4 Network Adapters
Adapter 1:
- Bridged Mode
- This will be the future: WAN
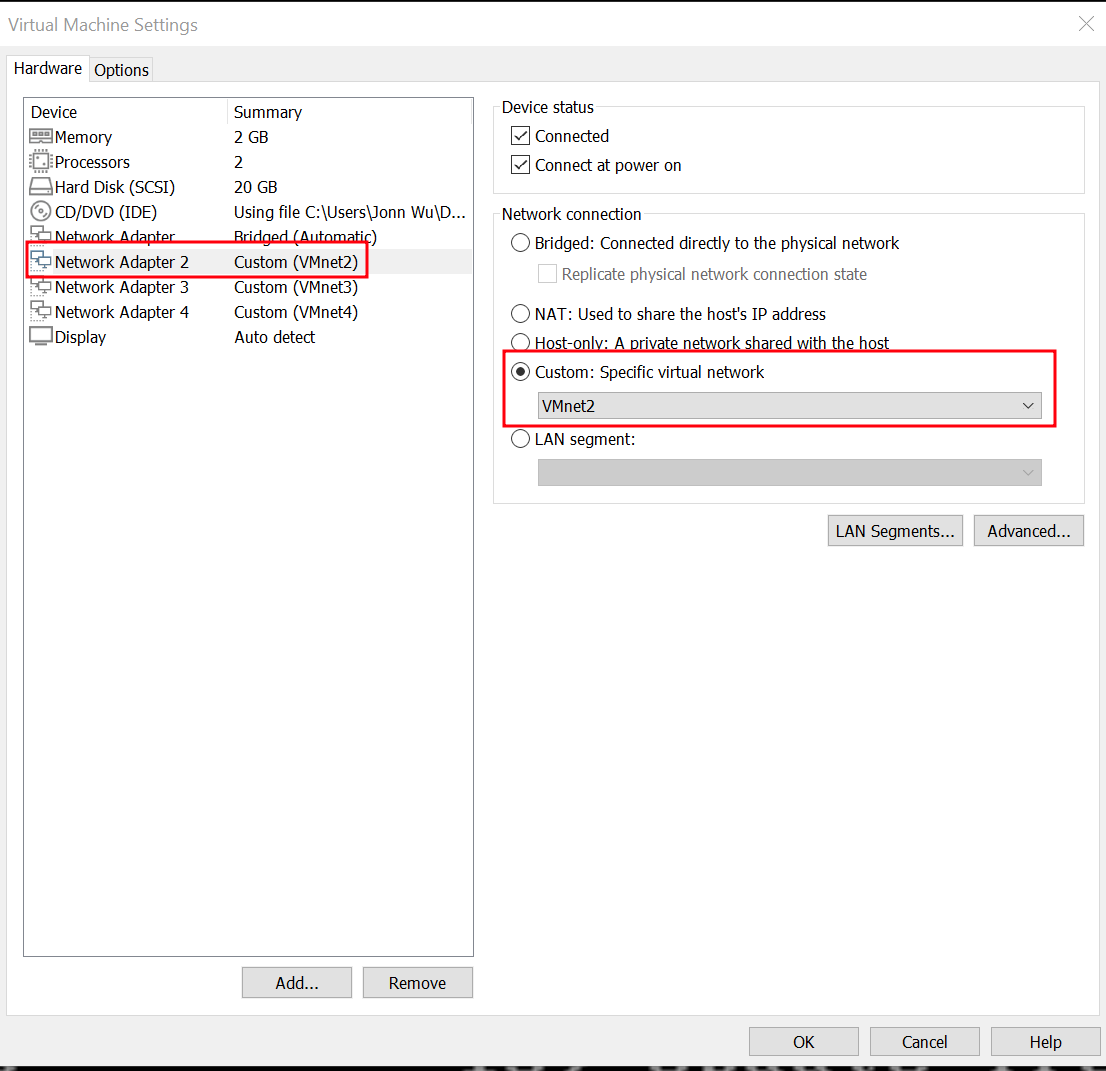
Adapter 2:
- Custom: Specific virtual Network
- VMnet2
- This will be the future: LAN
Adapter 3:
- Custom: Specific virtual Network
- VMnet3
- This will be the future: ISOLATED
Adapter 4:
- Custom: Specific virtual Network
- VMnet4
- This will be the future: AD_LAB
This is what the dialog box looks like in VMware:
Additional (Optional) Hardware Settings:
- Remove Sound Card
- Remove Floppy
- Remove USB
- Remove CD/DVD (after installation)
Let’s Boot It Up!
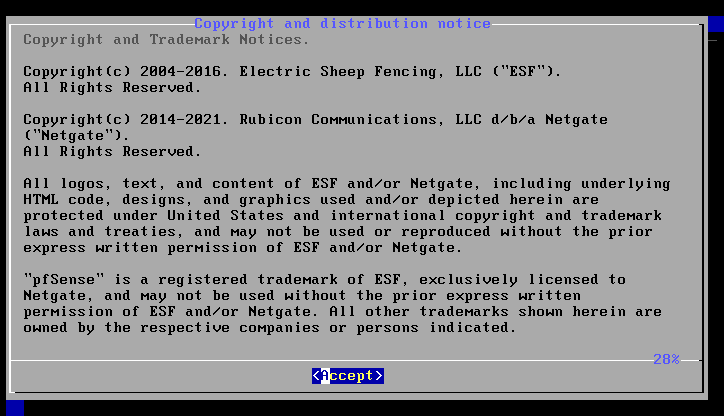 Choose “Accept”
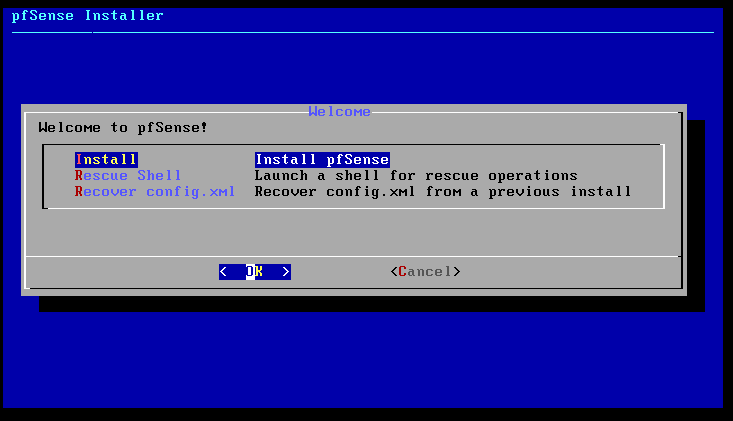 Choose “Install pfSense” and click “OK”
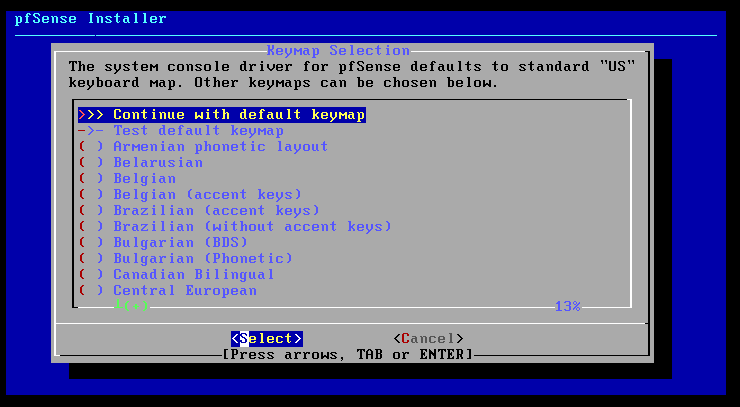 Choose “Default Keymap”
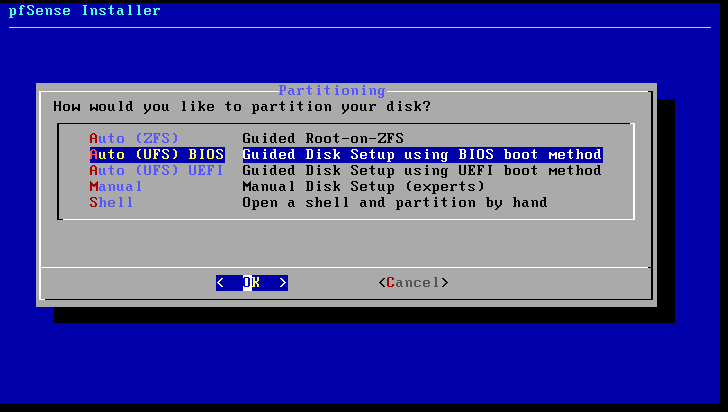 Choose “Auto (UFS) BIOS”
Wait for the installation to complete.
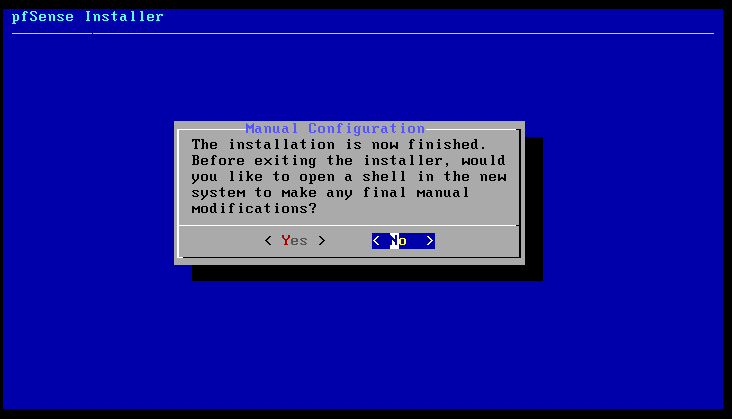 When asked about a shell, choose “No”
Reboot.
Configuring pfSense
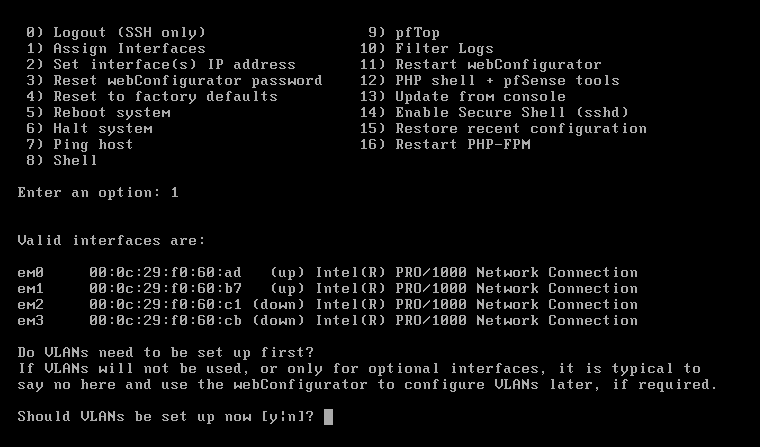
Wait for pfSense to finish booting and follow 0xBEN’s instructions.
Note:
- I was not asked “Should VLANs be set up now [y|n]”
- I selected Option 1 (Assign Interfaces) then was asked about VLANs
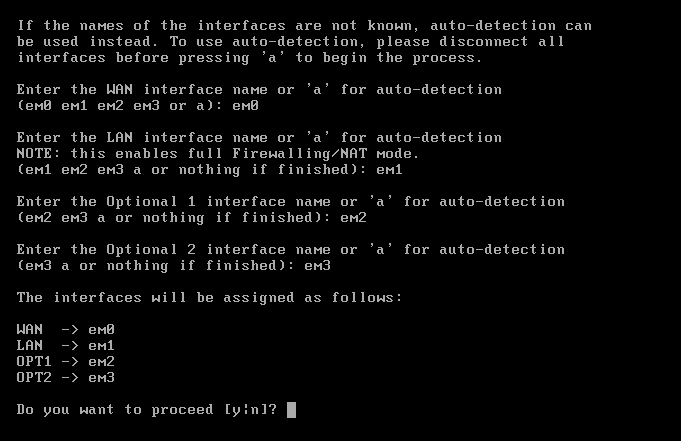
- Note the “Valid Interfaces”, from em0 to em3
- Choose N
Enter the interfaces (ie. em0 etc), for WAN, LAN, OPT1 and OPT2
Select Y
Return to Main Menu
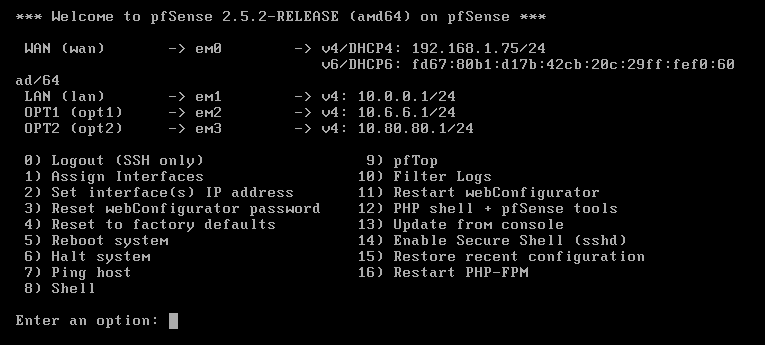
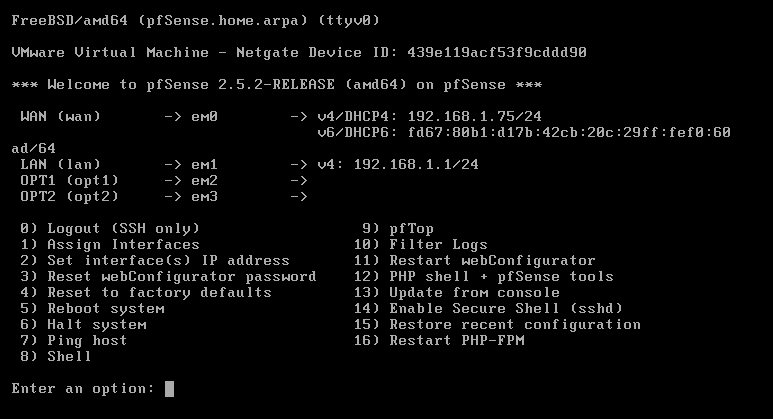
You will see something like this:
- The WAN interface pulled an IP address from my home network
- The Default LAN IP address space is 192.168.1.1/24
- OPT1 (optional interface 1) – Isolated – is not yet configured
- OPT2 (optional interface 2) – AD_LAB – is not yet configured.
Configure Adapters 2, 3 and 4, as per 0xBEN’s Guide
Final Check - all 4 interfaces should now be set: