0xBEN’s Firewall Configuration Guide
This section is based on 0xBEN’s pfSense Firewall Congiruation Guide.
I have added additional notes which might be relevant for VMware, as well as repeated some things for my own reference.
Log Into The Web Portal
This section basically follows 0xBEN’s guide, and does not differ for a VMware based network.
In this module, we will log into the pfSense web portal and configure firewall rules using our Kali VM.
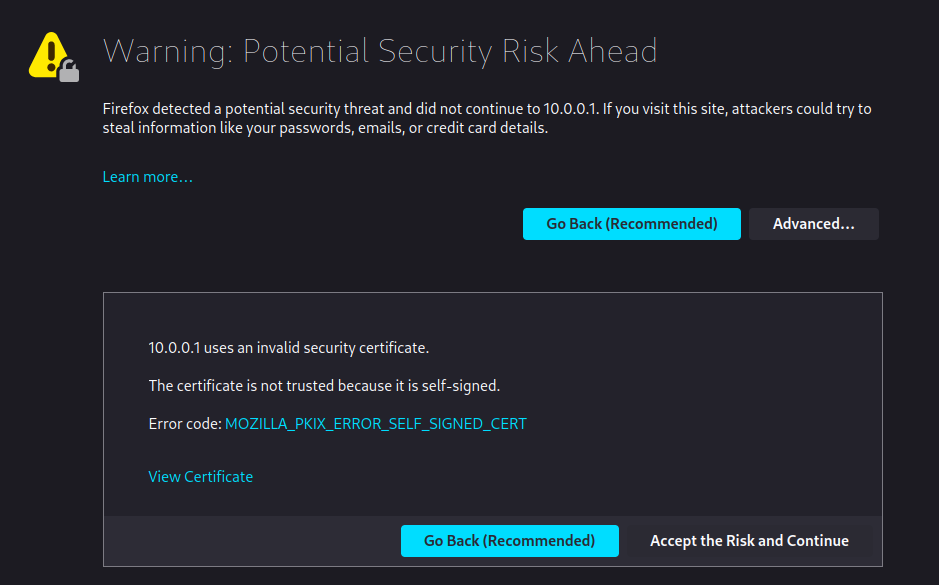
Fireup your browser, and go to:
https://10.0.0.1
Accept the risk and continue:
The default credentials are:
- Username: admin
- Password: pfsense
Click Next (again). Fill out the Hostname and Domain. Uncheck Overide DNS. Click Next.
Example:
hostname: pfSense
domain: cyber.range
Double check your timezone and click Next.
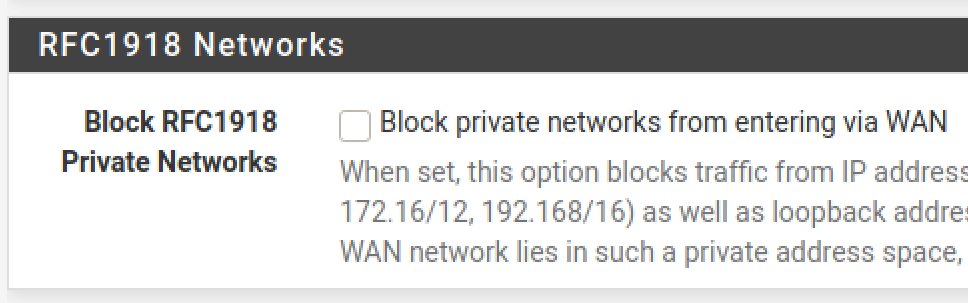
Scroll down and uncheck this box. We’re double-NAT, which means that the WAN network is also a private network, so we want to allow this. Click Next.
Leave this alone. Click Next.
Change the admin password. Save it in a password vault. Click Next.
Click Reload and wait for the web configurator to refresh. Click Finish.
Hopefully you’ll see this Dashboard:

Set up the Firewall Rules - Follow 0xBEN’s Guide
Some things to check:
-
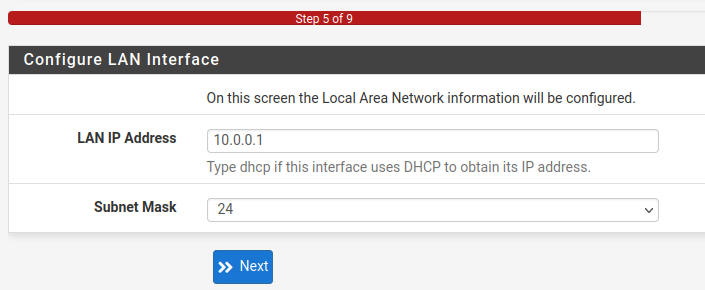
Log into your Kali VM, and check that you have a static IP of 10.0.0.2
-
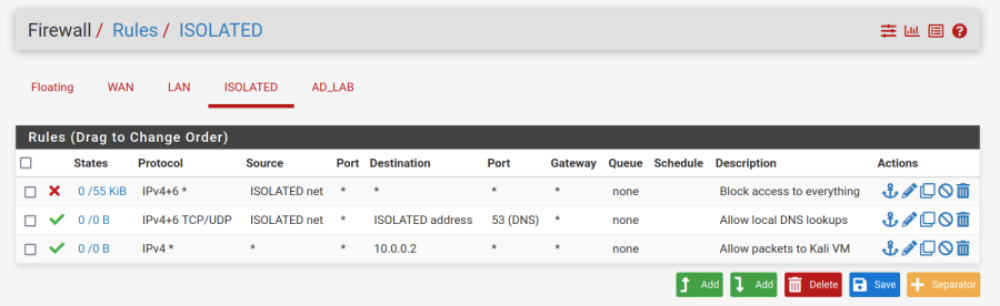
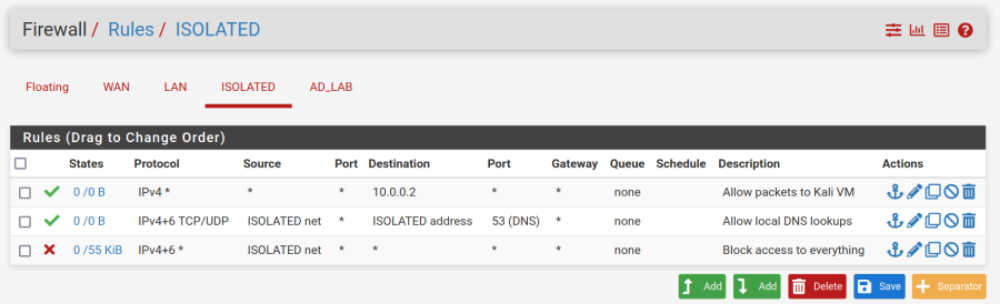
Make sure your firewall rules are in the proper order and your final settings match the desired end state
-
My initial settings for the ISOLATED subnet were in the wrong order, resulting in Kali able to ping a VM in ISOLATED, but not vice versa
-
My original settings - note the order of the rules
-
Desired end state
-
I was pleasantly surprised how user friendly it was to configure the firewall rules in pfSense. It has come a long way from manually setting IPTABLES etc.
Let’s add some Vulernable VMs!