0xBEN’s Vulnhub VM Guide
This section is based on 0xBEN’s Adding Vulnhub VMs to the Lab Guide.
Depending on the source and particular vulnerable machine you want to add, the installation procedures may vary. You should check to see if there are any particular procedures related to the VM you intend to install.
Add An Existing VM
In my example, I will use an existing VM called Academy, from The Cyber Mentor’s Practical Ethical Hacking Course.
It is currently sitting in my home network, accessible to and by all computers in my LAN, using NAT:
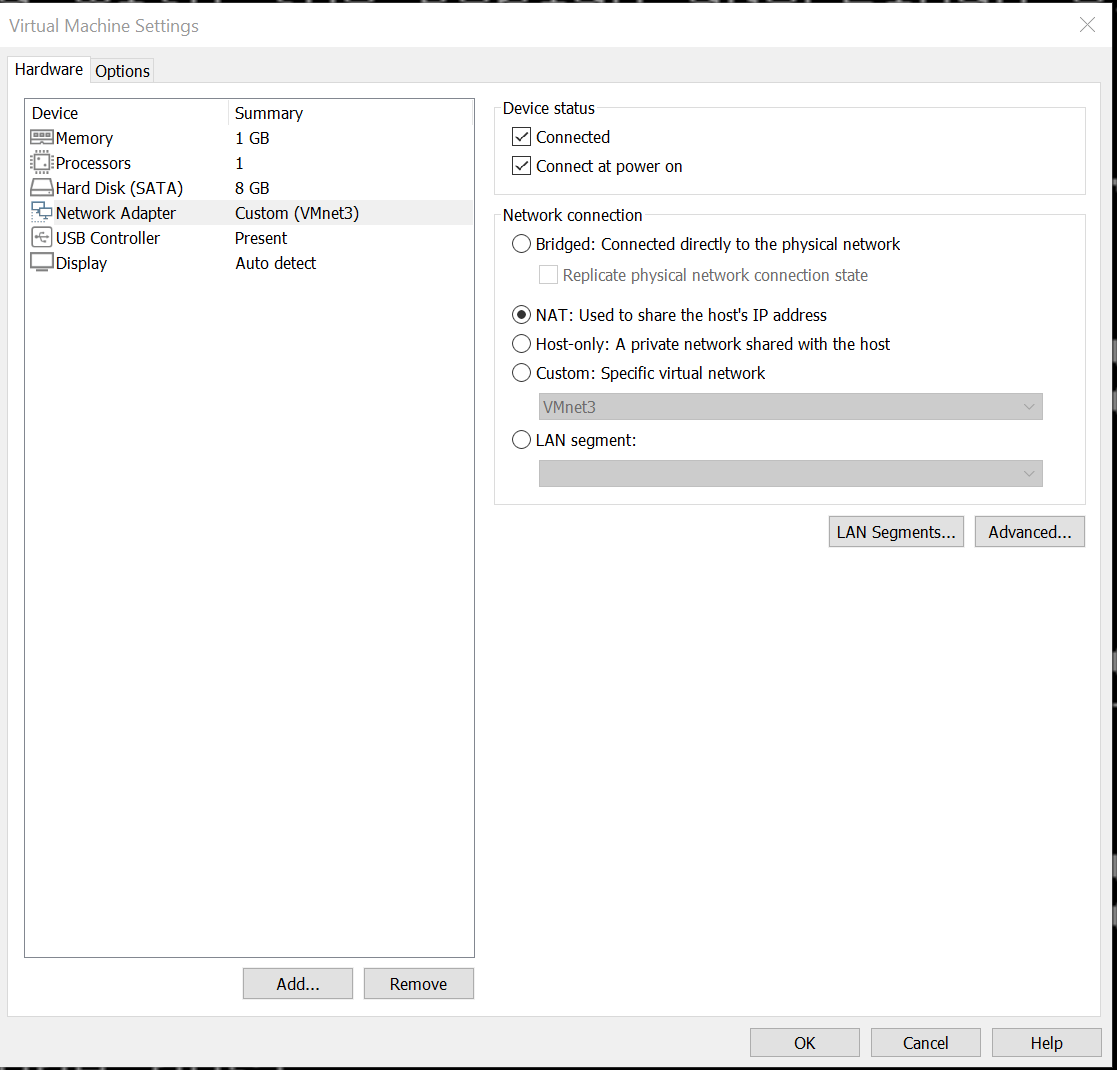
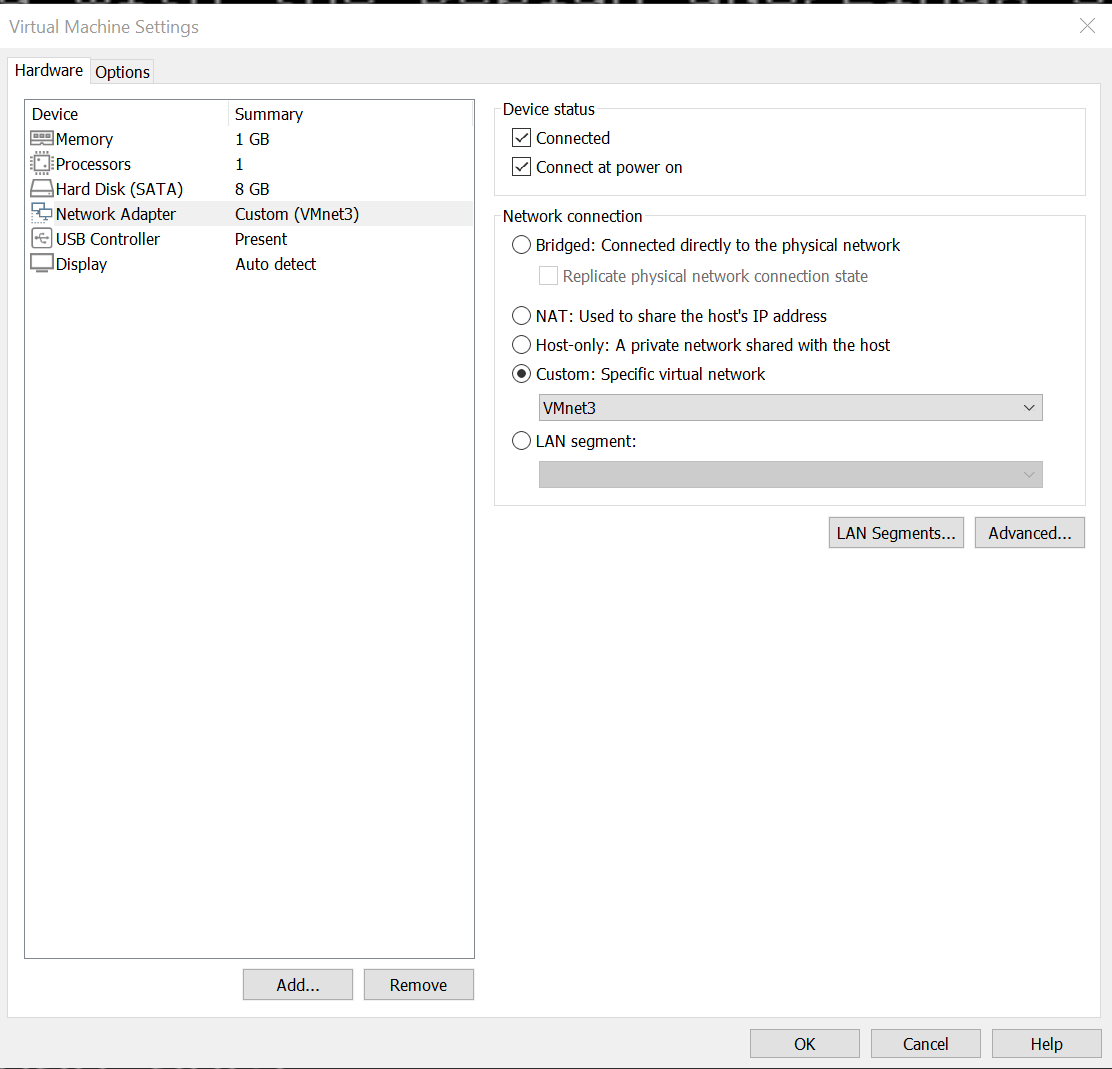
From here, just change the Network connection from NAT to “Custom: Specific virtual network” ie. VMnet3:
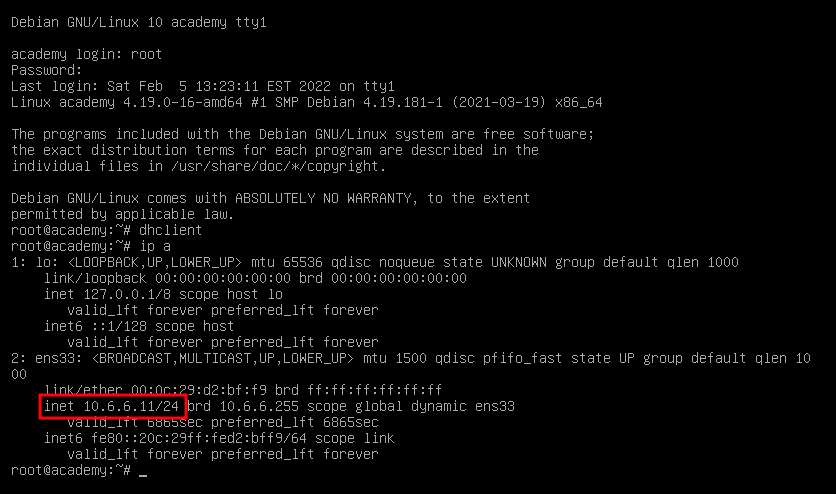
Log into your VM, and confirm you have been assigned an IP address in the appropriate subnet - in our setup the VM subnet is 10.6.6.0/24:
Now confirm you can ping the Academy VM from your Kali VM:

Finally, confirm you can ping the Kali attack VM from the Academy VM:

Success!
Now let’s add our Active Directory Lab!
ip3c4c